Think Spring
Give your garden a head start with winter sowing!
Do you ever get the itch to garden in winter? Want to smell the rich tones of lush soil and feel the satisfaction of planting seeds for edible crops or floral beauty? Many gardeners, soothe their desire by starting seeds indoors. Some will have a nice growing center with shelving, a fan, grow lights, and even a special growing tent. But what if you don’t have the room or resources for this kind of set up? There is a simple solution—try winter sowing. The tools you need for winter sowing are a seeds, soil, and a container.
The seeds you choose need to be cool weather crops that can tolerate or even benefit from being out in the cold. Select from kale, beet, broccoli, cabbage, cauliflower, leek, rutabaga, spinach, Swiss chard, turnip, and green onion for vegetable options and pansy, snapdragon, dianthus, alyssum, dusty miller, viola, and ornamental kale and cabbage for annual floral options. You can also choose zone 4 or hardier perennial seeds.
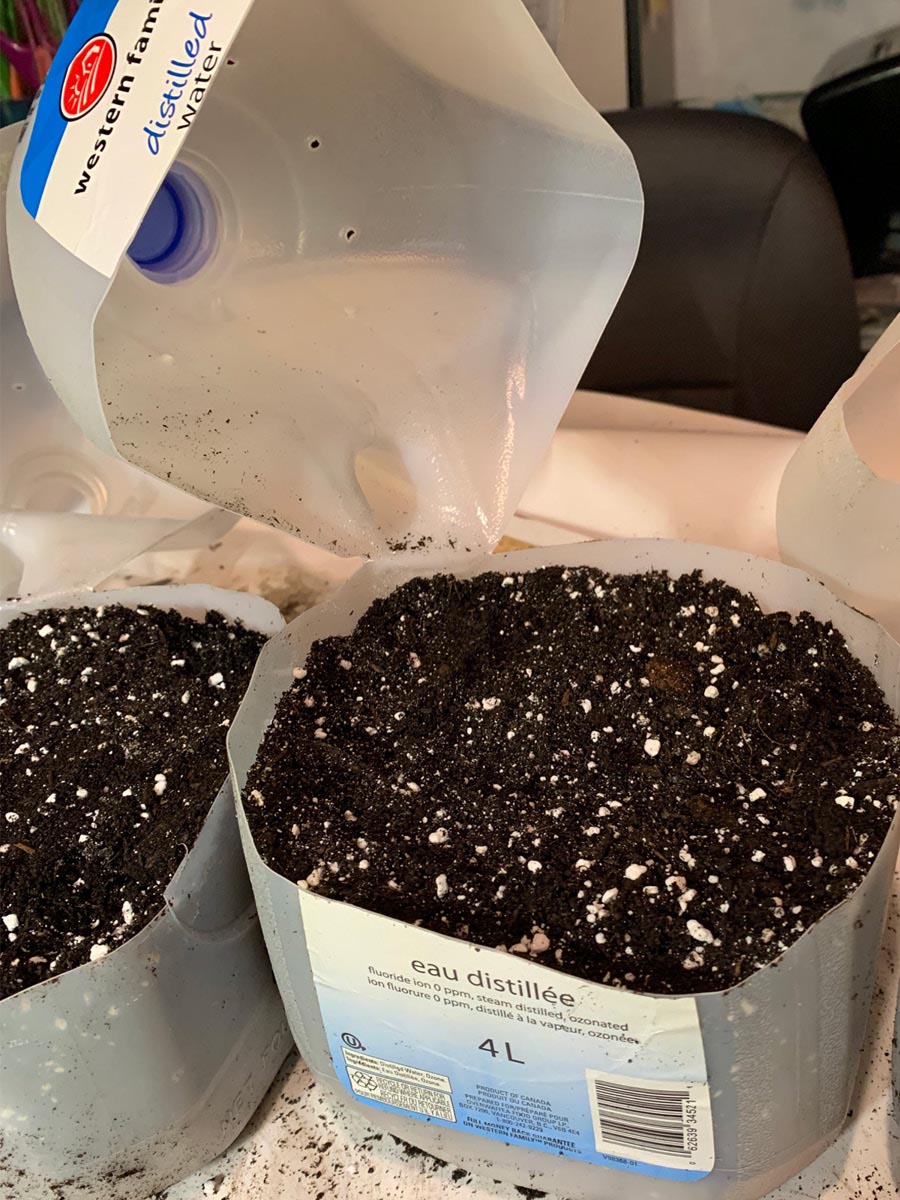
The soil should be a potting mix. Seeds can easily push down roots and get established in this type of growing medium. Most stores that sell houseplants will carry bags of potting mix even during the winter.
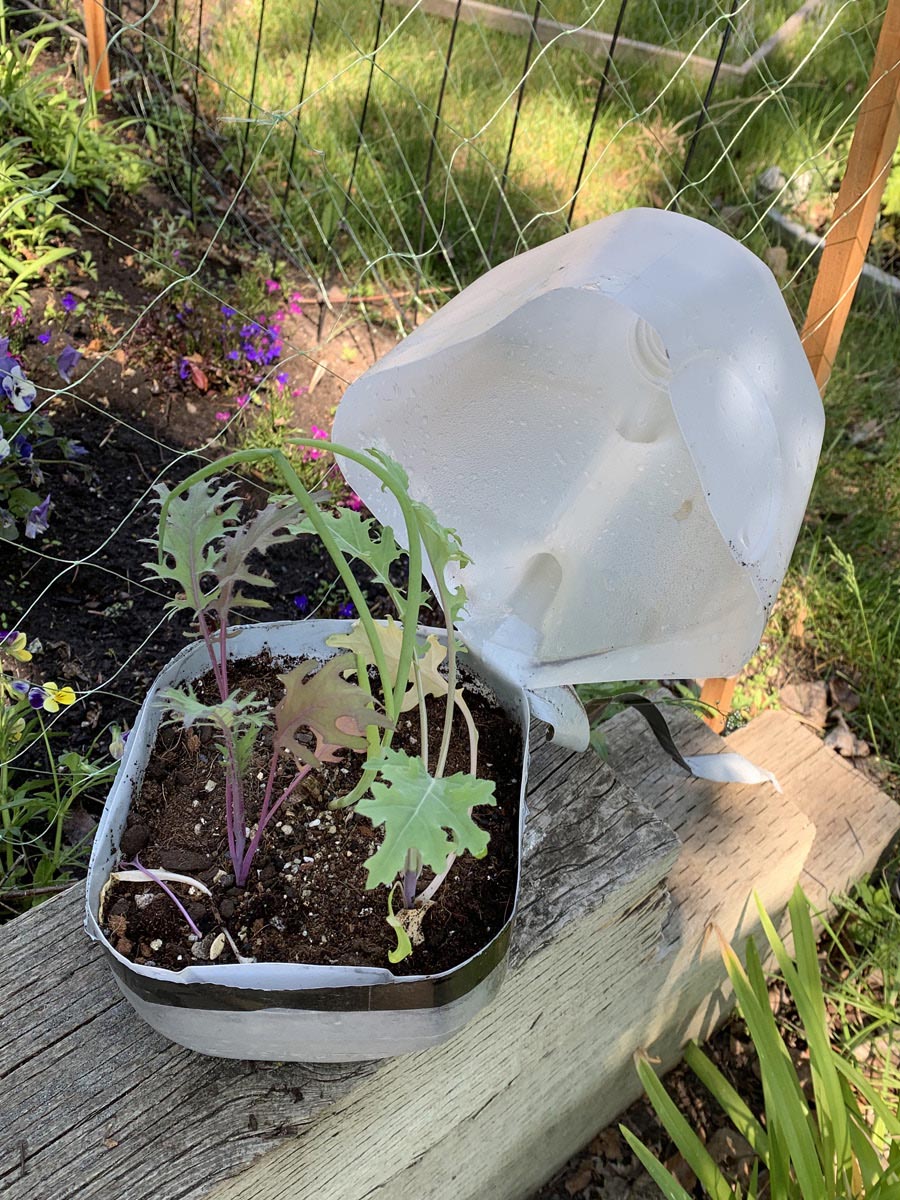
The recommended container is a 4-litre milk, juice, or water jug. The jug acts as a mini cold frame. The translucent walls of the jug protect the soil from the wind and trap warmth, while allowing bright filtered light to enter.
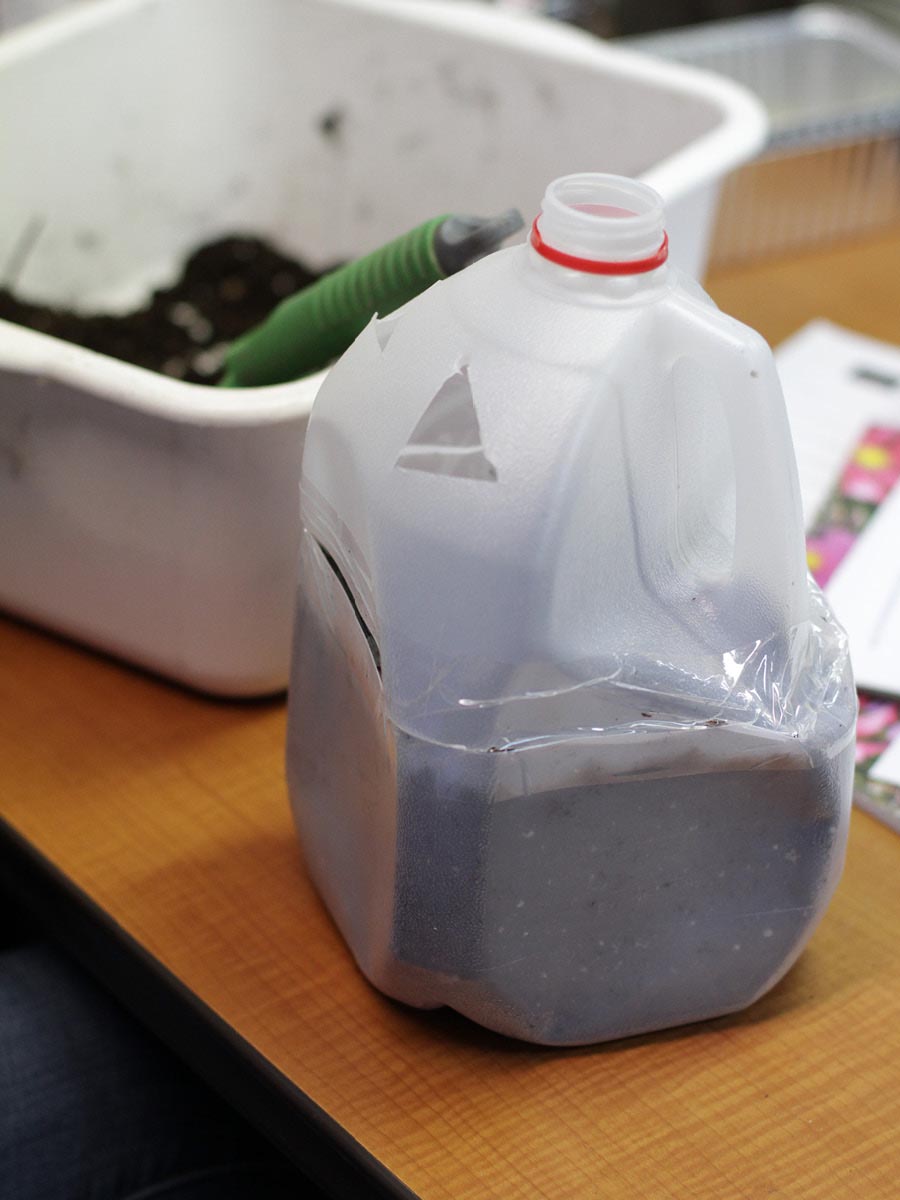
To turn the jug into a growing container, poke four or five drainage holes in the bottom with an awl or nail. Also poke a few holes, or make slits, near the top of the jug for ventilation. Open the jug, leaving the handle area as a hinge, by starting a cut from one side of the handle and continuing in a horizontal line around the jug to the other side of the handle. Fill the jug with 10 to 15 cm of damp potting soil. The soil has the right amount of water when it can hold a shape when squeezed but does not drip or ooze moisture.
When planting the seeds, follow the instructions on the seed package for how deep to place the seed. Planting extra seeds is okay as some of them may not germinate and if the seedlings become crowded, they can be thinned.
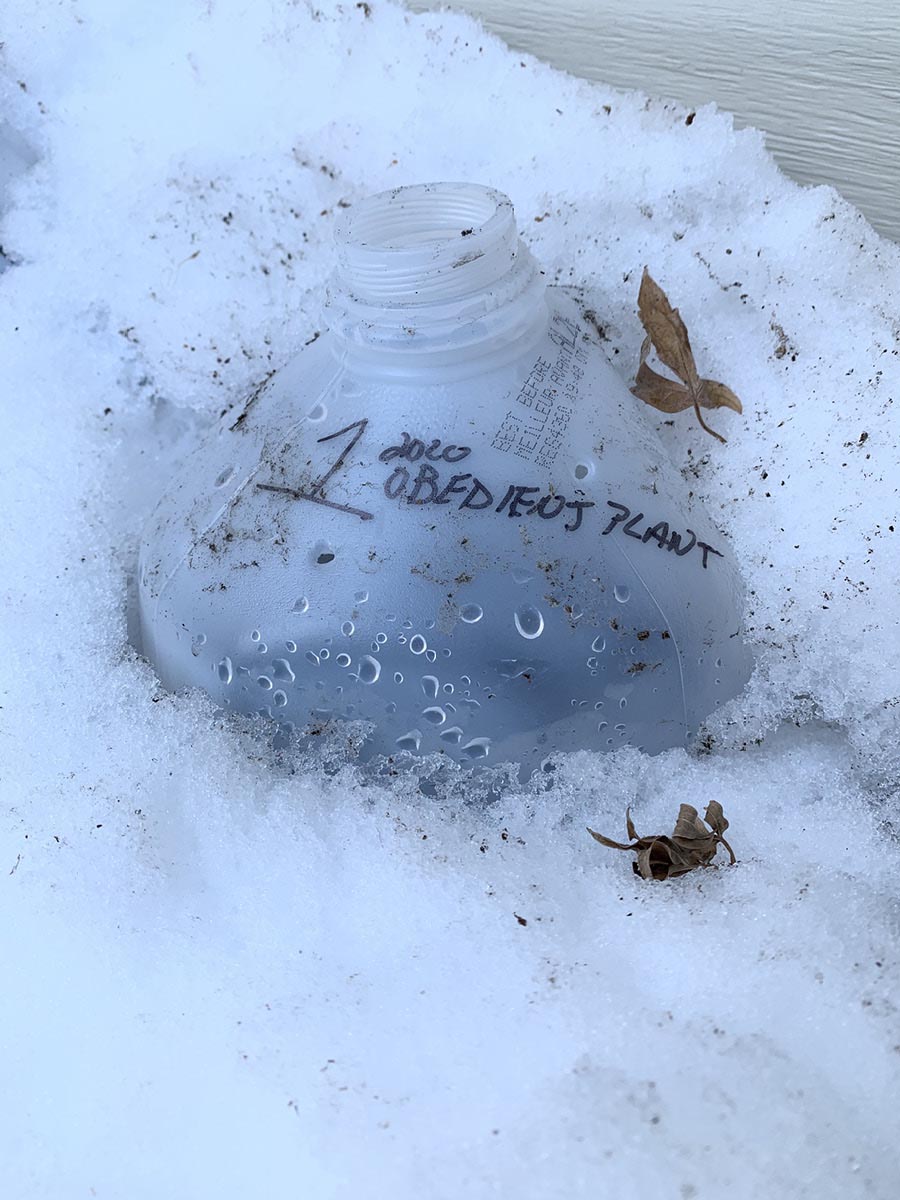
Finish the growing jug by taping it shut with Duck® or other weather resistant tape. Use a couple of short pieces of tape to hold the jug together. Then use one length of tape to seal the cut. Remove the jug lid and discard. Label the jug with a non-fading garden marker, noting what’s been planted and when the seeds were sowed.
Place the jugs outside in a bright area out of direct sunlight. Snow can provide insulation and moisture, so feel free to shovel snow on them, but only if you don’t use salt or another harmful deicer. Placing the jugs outside (late February or early March) after our coldest weather has past, improves the chances of success.
When the weather warms up, the jugs may need to be watered. Placing the jug in a bucket of water and letting the water soak in from the bottom is less likely to disturb the seeds. When the seedlings have grown to a couple of centimetres tall and have four true leaves (leaves that look like the adult plant leaf), pull the tape from the jug. In a week, prop the jug open a bit. The following week, open the jug; if frost is threatened, close the jug. Once the plants have been fully exposed to the outdoors for a week and the soil of their new home is thawed, they can be transplanted.
Get an early start on the growing season this year and try winter sowing. To learn more about the Calgary Horticultural Society, visit our website calhort.org. Think Spring!
Deborah Maier
Calgary Horticultural Society


